
Best Gluten Free Bread What Makes These 6 Recipes Stand Out?
Table of Contents
Introduction: Best Gluten Free Bread
If you’ve ever thought gluten-free bread is dry, crumbly, or just plain disappointing, think again. The secret to the best gluten free bread lies in choosing the right recipe and mastering a few simple techniques. But what makes some recipes truly stand out from the rest? In this post,we’ll uncover six amazing best gluten free bread recipes that are soft, flavorful, and easy enough for anyone to make at home 1. Whether you’re new to gluten-free baking or a seasoned pro, these tips and tricks will help you create loaves so good, no one will believe they’re gluten-free!
Overview: Why These Recipes Are Special
These six standout recipes are designed with simplicity and flavor in mind. Each one focuses on achieving the perfect texture—soft, fluffy, and sliceable—without relying on hard-to-find ingredients. Here’s why they’re worth your time:
- Time Requirement: Most recipes take about 2–3 hours from start to finish, including rising and baking.
- Difficulty Level: Beginner-friendly! With clear instructions and helpful tips, even first-time bakers can succeed.
- Special Features: From dairy-free options to no-knead methods, these recipes cater to different dietary needs while delivering bakery-quality results.
The best part? You don’t need fancy equipment or expensive flours to get started. Let’s dive into the details!
Essential Ingredients: The Secret to Success
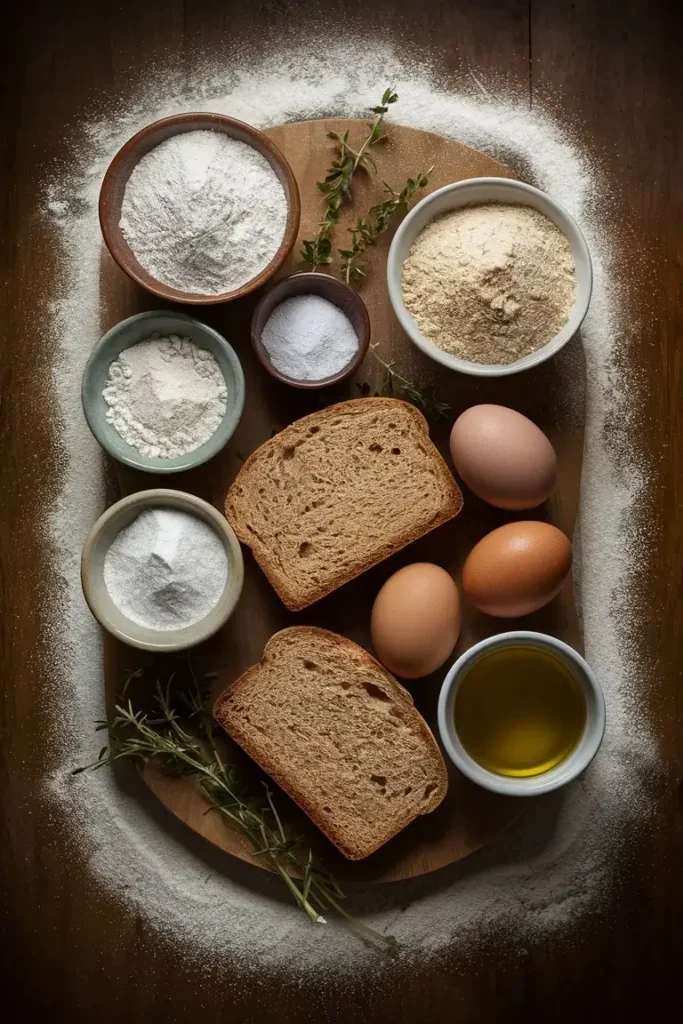
When it comes to making the best gluten free bread , the ingredients matter more than anything else. Here’s a breakdown of the key components and why they’re crucial:
- Gluten-Free Flour Blend
- Use a high-protein blend like rice flour mixed with tapioca starch or potato starch. Protein helps mimic the structure gluten provides in traditional bread.
- Substitution Tip: If you prefer whole grains, try adding almond flour or oat flour (certified gluten-free).
- Psyllium Husk
- Psyllium husk acts as a binder, giving your bread elasticity and preventing it from crumbling.
- Alternative Option: Xanthan gum works too, but psyllium tends to produce better texture.
- Yeast
- Active dry yeast is essential for leavening. It gives your bread its airy texture and signature rise.
- Pro Tip: Always proof your yeast by mixing it with warm water and sugar to ensure it’s active before using.
- Eggs
- Eggs add moisture and structure. For egg-free versions, substitute with flax eggs (1 tablespoon ground flaxseed + 3 tablespoons water per egg).
- Olive Oil or Butter
- Healthy fats keep the bread moist and enhance the flavor. Olive oil is a great dairy-free option.
- Sweetener
- A small amount of sugar or honey feeds the yeast and balances the flavors. Coconut sugar or maple syrup work well for refined-sugar-free diets.
- Salt
- Salt enhances the overall taste and controls yeast activity during fermentation. Don’t skip it!
With these ingredients in hand, you’re ready to bake magic.
Step-by-Step Instructions: How to Make Perfect Gluten-Free Bread
Let’s walk through the process step-by-step. While each recipe may have slight variations, here’s a general guide to follow:
- Prepare Your Ingredients
- Measure all your dry ingredients accurately. Precision is key when working with gluten-free flours.
- Bring wet ingredients (like eggs and milk) to room temperature for better incorporation.
- Activate the Yeast
- Mix warm water (about 110°F), a pinch of sugar, and yeast in a bowl. Let it sit for 5–10 minutes until frothy.
- Combine Wet and Dry Ingredients
- In a large mixing bowl, whisk together your flour blend, psyllium husk, salt, and any other dry ingredients.
- Add the activated yeast mixture, eggs, oil, and sweetener. Mix until smooth.
- Let the Dough Rise
- Gluten-free dough is stickier than regular bread dough, so resist the urge to add extra flour. Cover the bowl with a damp cloth and let it rise in a warm spot for 1 hour.
- Shape and Bake
- Transfer the risen dough to a greased loaf pan. Smooth the top with wet hands to prevent sticking.
- Preheat your oven to 375°F (190°C) and bake for 45–50 minutes. The bread is done when it sounds hollow when tapped.
- Cool Completely
- Allow the bread to cool in the pan for 10 minutes, then transfer it to a wire rack. Cooling ensures the loaf sets properly.
Assembly: Combining Ingredients Like a Pro
While gluten-free bread doesn’t require kneading, assembling the ingredients correctly is still important. Here are some tips:
- Mix Thoroughly: Ensure all ingredients are fully incorporated to avoid pockets of uncooked flour.
- Use a Stand Mixer (Optional): If you have one, use the paddle attachment to mix the dough evenly.
- Don’t Overmix: Once the dough looks cohesive, stop mixing to prevent overworking the batter.
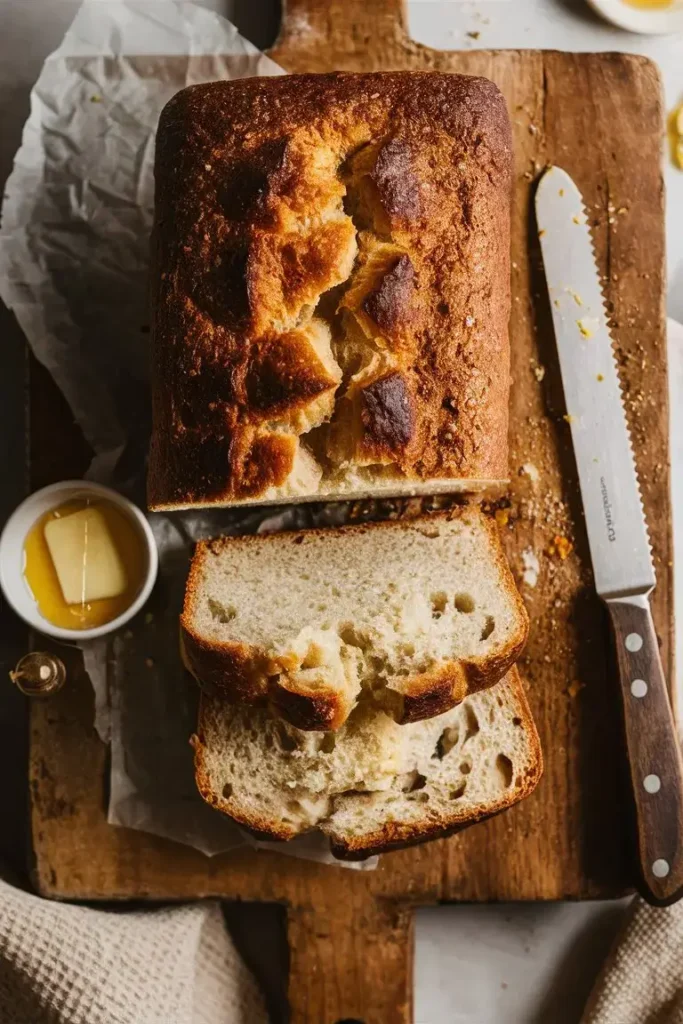
For presentation, consider slicing the cooled loaf thinly and serving it with butter, jam, or avocado toast. A sprinkle of seeds on top before baking adds visual appeal and extra crunch.
Storage and Make-Ahead Tips
To keep your best gluten free bread fresh and delicious:
- Room Temperature Storage: Store the loaf in an airtight container or zip-top bag for up to 3 days.
- Freezing: Slice the bread and freeze individual portions in freezer-safe bags for up to 3 months. Reheat slices in the toaster or microwave.
- Reheating: Wrap the bread in foil and warm it in the oven at 350°F (175°C) for 10 minutes to restore freshness.
Pro Tip: Always slice gluten-free bread when it’s completely cool to prevent crumbling.
Recipe Variations: Get Creative!
Want to switch things up? Try these fun twists on classic best gluten free bread:
- Herb Bread: Add dried rosemary, thyme, or garlic powder for a savory twist.
- Seeded Loaf: Sprinkle sunflower seeds, pumpkin seeds, or flaxseeds on top before baking.
- Sweet Bread: Stir in cinnamon and raisins for a breakfast-friendly treat.
- No-Yeast Version: Use baking powder and baking soda instead of yeast for a quick-rise alternative.
Experimentation is key to finding your favorite variation!
Conclusion:
Baking the best gluten free bread isn’t as daunting as it seems. With the right ingredients, techniques, and a little patience, you can create loaves that rival any bakery. So grab your apron, preheat your oven, and let your creativity shine. Who knows—you might just discover your new favorite hobby!
FAQs About Making Best Gluten Free Bread
Q: Is gluten-free bread healthier than regular bread?
A: It depends on the ingredients. Many best gluten free breads use nutrient-rich flours like almond or coconut flour, which can offer added health benefits 7. However, always check labels for added sugars or preservatives.
Q: Can I make best gluten free bread without a stand mixer?
A: Absolutely! A sturdy spoon or spatula works fine. Just be prepared for a bit of arm exercise.
Q: Why does my gluten-free bread turn out dense?
A: Dense bread often results from under-risen dough or insufficient leavening agents. Make sure your yeast is fresh and give the dough enough time to rise.
Q: How long does homemade gluten-free bread last?
A: Properly stored, it lasts 2–3 days at room temperature or several months in the freezer
Your Journey to Baking the Best Gluten Free Bread Starts Now
- How to Find the Best Bread Pudding Near Me in Just One Day
- 5 Creative Ways to Use Bread and Crumbs in Your Recipes
- Bread Slicer Hacks: 5 Ways to Improve Your Baking Game