
Chocolate Bread Recipe: Top 5 Reasons to Try This Decadent
Table of Contents
Introduction: Chocolate Bread Recipe
When you think of bread, do visions of sweet, chocolatey goodness come to mind? Probably not—but they absolutely should! What if I told you that a Chocolate Bread Recipe could be your new go-to treat for breakfast, dessert, or even midnight snacks? Whether you’re a seasoned baker or just starting out, this decadent loaf is here to change the way you think about bread. Ready to discover why it’s worth trying? Let’s dive in!
Overview: What Makes This Chocolate Bread Recipe Special?
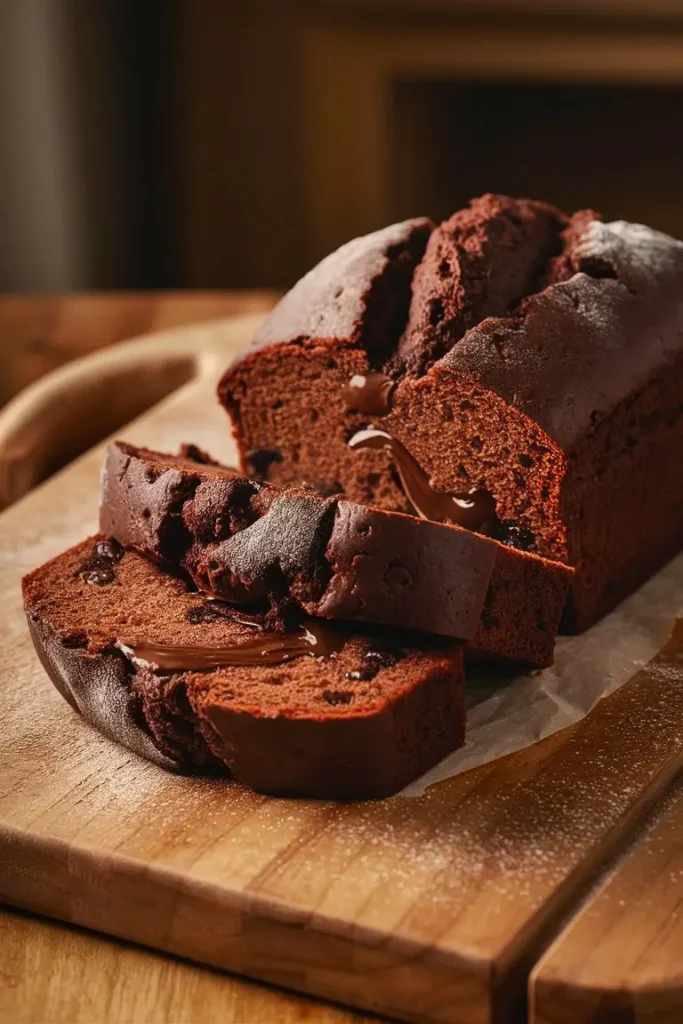
This Chocolate Bread Recipe is more than just a loaf—it’s a celebration of rich cocoa flavor, soft texture, and endless versatility. The best part? It’s easy enough for beginners but impressive enough to wow even the pickiest eaters.
- Time Requirement : You’ll need about 15–20 minutes of active prep time, plus around 45–60 minutes for baking. That’s less than two hours from start to finish!
- Difficulty Level : Beginner-friendly. No fancy tools or advanced techniques required—just mix, pour, and bake.
- Special Features : This recipe uses simple pantry staples, making it budget-friendly and accessible. Plus, its moist crumb and deep chocolate flavor make it a crowd-pleaser.
Essential Ingredients: Why Each Component Matters
Great chocolate bread starts with great ingredients. Here’s what you’ll need:
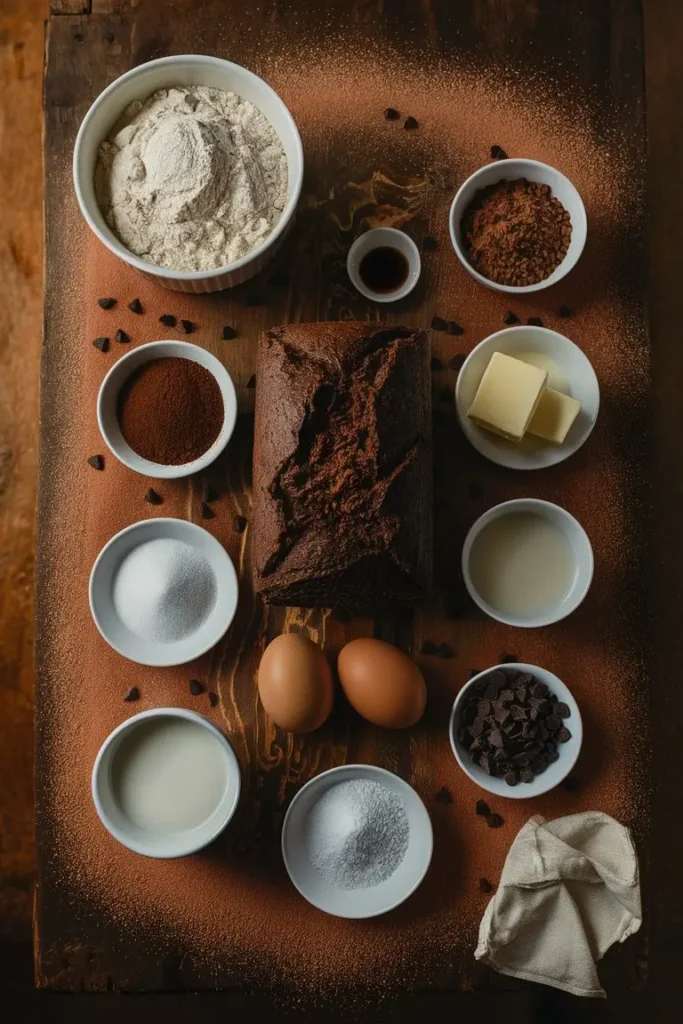
- All-Purpose Flour : The base of your bread, providing structure and stability. For gluten-free options, try almond flour or oat flour.
- Cocoa Powder : Unsweetened cocoa powder gives the bread its signature chocolate flavor without being overly sweet. Opt for high-quality cocoa for the best results.
- Sugar : Granulated sugar adds sweetness and helps create a tender crumb. You can swap it with brown sugar for a richer taste or coconut sugar for a healthier twist.
- Eggs : Eggs act as binders and add moisture to the bread. If you’re vegan, flax eggs (1 tablespoon ground flaxseed + 3 tablespoons water per egg) work well.
- Buttermilk or Milk : Buttermilk enhances tenderness and adds a slight tanginess. Regular milk or plant-based alternatives like almond or oat milk also work fine.
- Baking Powder/Soda : These leavening agents help the bread rise beautifully. Make sure yours aren’t expired!
- Melted Butter or Oil : Adds richness and keeps the bread moist. Use melted coconut oil for a dairy-free version.
Substitutions and Variations :
- Add-ins like chocolate chips, nuts, or dried fruit can take your bread to the next level.
- For a fudgier texture, stir in some sweetened condensed milk before baking.
Step-by-Step Instructions: How to Prepare Your Decadent Loaf
Let’s get baking! Follow these simple steps to create your dream Chocolate Bread Recipe :
- Preheat Your Oven : Set your oven to 350°F (175°C). Grease a loaf pan or line it with parchment paper for easy removal.
- Mix Dry Ingredients : In a large bowl, whisk together 2 cups of all-purpose flour, ¾ cup unsweetened cocoa powder, 1 ½ teaspoons baking powder, and ½ teaspoon salt. Mixing dry ingredients first ensures even distribution of flavors.
- Combine Wet Ingredients : In another bowl, beat 2 large eggs with 1 ½ cups granulated sugar until smooth. Stir in 1 cup buttermilk and ½ cup melted butter or oil. Mix gently to avoid overmixing.
- Blend Everything Together : Gradually add the wet mixture to the dry ingredients, stirring just until combined. Fold in optional add-ins like chocolate chips or chopped walnuts.Tip : Don’t overmix! A few lumps are okay; overmixing leads to dense bread.
- Pour and Bake : Transfer the batter into your prepared loaf pan and smooth the top. Bake for 45–55 minutes, or until a toothpick inserted comes out clean.Pro Tip : Tent the bread with foil halfway through baking if the top starts browning too quickly.
- Cool and Serve : Let the bread cool in the pan for 10 minutes before transferring it to a wire rack. Slice and serve warm with butter, jam, or whipped cream.
Assembly: Building the Perfect Loaf
To ensure your Chocolate Bread Recipe turns out picture-perfect:
- Layering Flavors : Sprinkle mini chocolate chips on top of the batter before baking for extra indulgence.
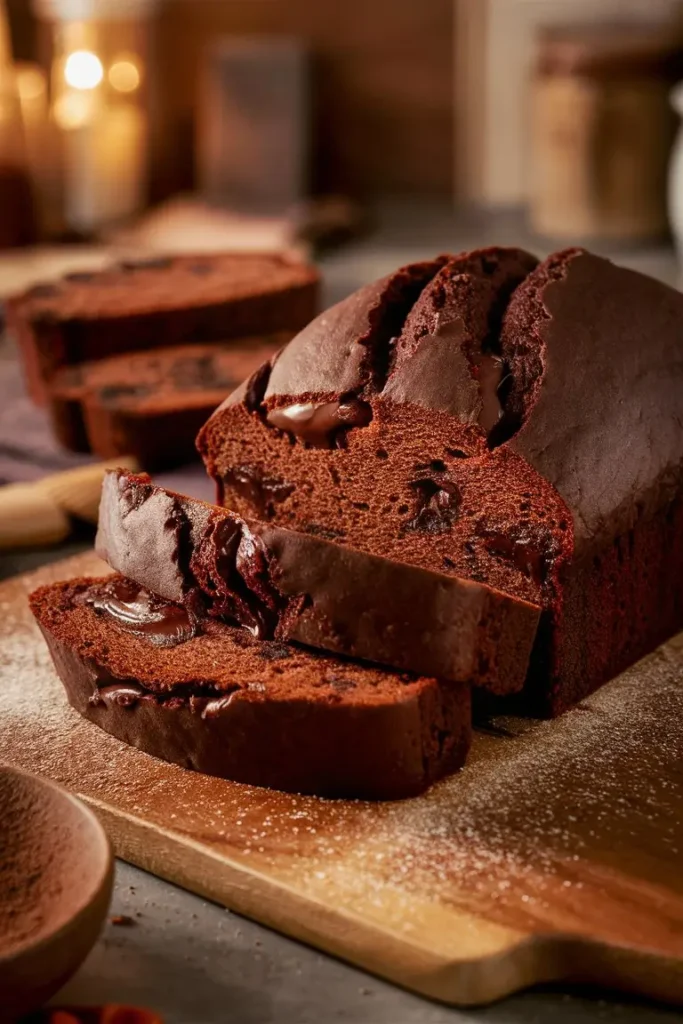
- Presentation Tips : Dust the cooled loaf with powdered sugar or drizzle melted chocolate for an elegant touch. Garnish with fresh berries or mint leaves for added flair.
Storage and Make-Ahead Tips
One of the joys of quick breads is their longevity. Here’s how to keep your Chocolate Bread Recipe fresh:
- Room Temperature : Store tightly wrapped in plastic wrap or an airtight container for up to three days.
- Freezing : Wrap individual slices in plastic wrap and freeze them in a zip-top bag for up to three months. Reheat in the microwave or toaster for a fresh-baked taste.
- Make-Ahead Option : Prepare the batter ahead of time and refrigerate overnight. Pour into the loaf pan and bake when ready.
Recipe Variations: Get Creative with Your Loaf
Why stop at plain chocolate bread when there are so many ways to customize?
- Double Chocolate Delight : Add both cocoa powder and dark chocolate chunks for an ultra-rich experience.
- Spiced Twist : Mix in cinnamon, nutmeg, or chili powder for a unique flavor profile.
- Nutty Crunch : Fold in chopped pecans, almonds, or hazelnuts for added texture and depth.
Conclusion: Your Next Favorite Treat Awaits
With its rich chocolate flavor, melt-in-your-mouth texture, and endless customization possibilities, this Chocolate Bread Recipe truly deserves a spot in your recipe collection. Whether you’re baking for yourself or sharing with loved ones, this loaf promises to bring joy with every slice. So grab your ingredients, preheat that oven, and let the magic begin!
FAQs: Everything You Need to Know About Chocolate Bread recipe
- Is chocolate bread healthy? While it’s still a treat, using whole grain flour, natural sweeteners, and dark chocolate can boost its nutritional value.
- Can I use self-rising flour instead of all-purpose? Yes! Just omit the baking powder and salt since self-rising flour already contains them.
- How do I know when my bread is done? Insert a toothpick into the center—if it comes out clean or with a few crumbs (but no wet batter), it’s ready.
- What if my bread sinks in the middle? Overmixing or underbaking can cause sinking. Stick to the recommended mixing and baking times for best results.
- Can I make this recipe gluten-free? Absolutely! Swap the all-purpose flour with a gluten-free blend, and check that your other ingredients are certified gluten-free