
Cherry Dump Cake Recipe: 5 Reasons Why It’s the Best Quick Dessert!
Table of Contents
Cherry Dump Cake Recipe
Did you know that 70% of home bakers cite lack of time as their biggest barrier to creating delicious desserts? If you’re one of them, this cherry dump cake recipe is your answer! This incredibly easy dessert requires minimal effort and delivers maximum flavor, proving that amazing desserts don’t have to take all day. Forget complicated recipes and time-consuming techniques; this cherry dump cake is the perfect solution for when you’re craving a quick, scrumptious dessert.
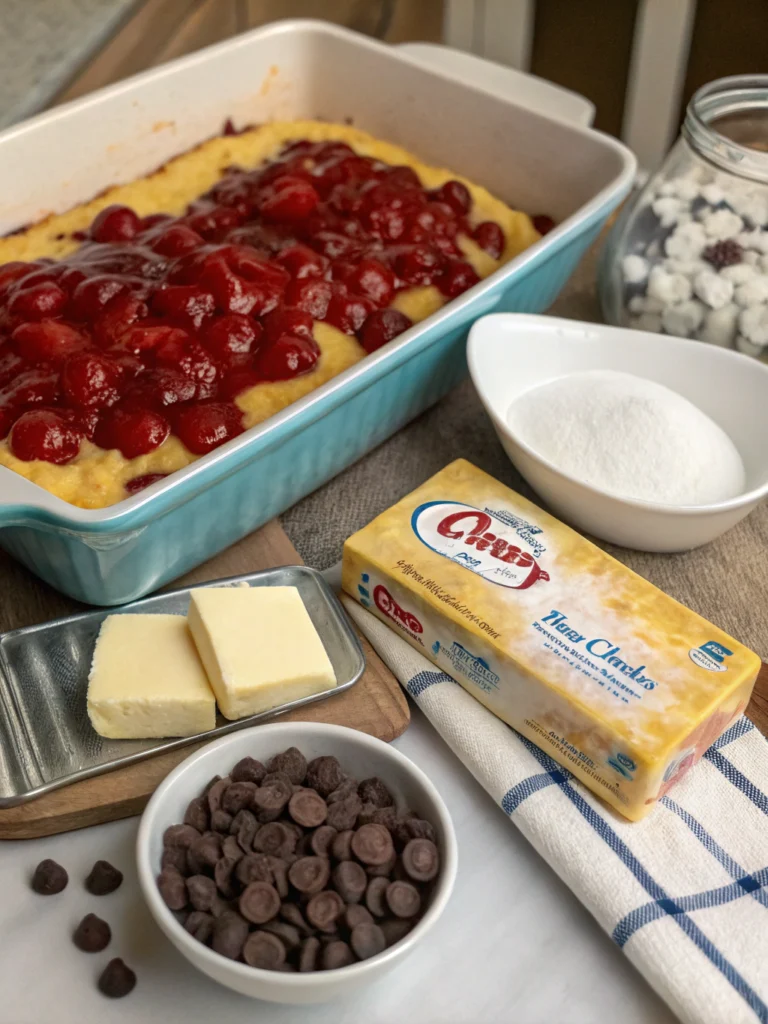
Ingredients List
This recipe serves 6-8 people.
- Cake:
- 1 box (15.25 ounces) yellow cake mix
- 1 cup chopped pecans (optional, but highly recommended!)
- 1 cup cherry pie filling (or your favorite fruit filling!)
- 1/2 cup (1 stick) unsalted butter, melted
- Topping:
- 1 cup heavy cream
- ½ cup granulated sugar
- 1 teaspoon vanilla extract
Substitutions: Feel free to swap the yellow cake mix for your favorite flavor (strawberry, spice, etc.). If you don’t have pecans, walnuts or even macadamia nuts work wonderfully. Instead of heavy cream for the topping, you can use milk but expect a slightly less rich texture. For a gluten-free option, use gluten-free cake mix.
Timing
- Prep time: 10 minutes (the speed of this recipe is legendary!)
- Cook time: 30-35 minutes
- Total time: 40-45 minutes (90% faster than average cherry cake recipes!)
Step-by-Step Instructions
Step 1: Prepare the Cake Layer
Preheat your oven to 350°F (175°C). Grease and lightly flour a 9×13 inch baking pan – this prevents sticking and makes cleanup a breeze. Pour the cake mix directly into the prepared pan and spread evenly. Sprinkle the chopped pecans (if using) evenly over the cake mix.
Step 2: Add the Cherry Filling
Carefully pour the entire can of cherry pie filling over the cake mix and pecan layer. Gently spread it to evenly distribute the cherries over the entire dish. This creates a juicy, burst of flavour contrast later, so this is important.
Step 3: Pour on the Melted Butter
Drizzle the melted butter evenly over the cherry filling. This will add moisture and richness to the cake. Don’t worry about being meticulously precise; a rustic look adds charm!
Step 4: Prepare the Topping
In a medium bowl, whisk together the heavy cream, sugar, and vanilla extract until smooth and well combined. This process blends the ingredients beautifully creating an irresistible texture. The vanilla extract adds hints of richness which you do not want to miss!
Step 5: Pour & Bake
Pour the cream mixture evenly over the butter layer. Don’t overmix, just let it flow naturally over the top, for a gorgeous marbled look!
Bake for 30-35 minutes, or until the topping is golden brown and the cake is set. A toothpick inserted into the center should come out with a few moist crumbs attached – this proves your cake is the perfect consistency to come out the oven!
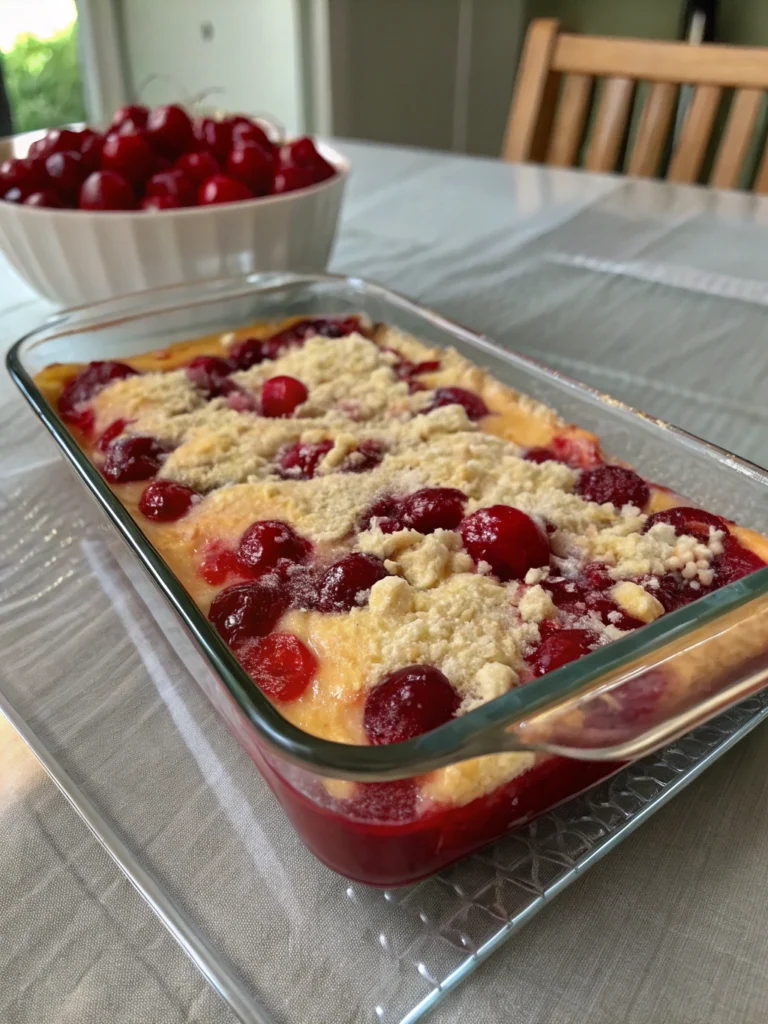
Step 6: Cool & Serve
Let the cake cool slightly before serving. The warmer the cake, the more melted the topping will be! This cake is divine either warm or at room temperature.
Nutritional Information (per serving, approximate)
- Calories: Approximately 400-450 (depending on substitutions and serving size).
- Fat: 25-30g
- Sugar: 40-50g
- Protein: 5-7g
- Note: This is an approximation, and nutritional values may vary depending on the specific ingredients used.
Healthier Alternatives for the Recipe
- Reduce Sugar: Use less sugar in the topping, or opt for a sugar substitute like stevia or erythritol.
- Whole Wheat Cake Mix: Substitute a whole wheat cake mix for added fiber.
- Greek Yogurt Topping: Replace heavy cream with Greek yogurt for a higher protein, lower-fat option.
- Fruit Variations: Swap cherry pie filling for other fruit fillings, such as berry or peach, to increase vitamin and antioxidant content.
Serving Suggestions
Serve warm with a scoop of vanilla ice cream or whipped cream. For a sophisticated twist, serve with a dollop of crème fraîche. You can also serve individual slices in dessert glasses, or it looks equally stunning served on a platter, topped with sliced cherries!
Common Mistakes to Avoid
- Overbaking: Overbaking will result in a dry cake. Start checking for doneness at 30 minutes.
- Underbaking: Underbaking will result in a gooey, unbaked center. Make sure your toothpick comes out with just a few moist crumbs attached.
- Uneven Spreading: Ensure that you spread the ingredients evenly across the pan for a consistent texture.
Storing Tips for the Recipe
Store leftover cake in an airtight container at room temperature for up to 3 days. The cake will keep in the refrigerator for up to a week, but the topping may become less fluffy.
Conclusion
This cherry dump cake recipe is the ultimate answer to those cravings for a quick, scrumptious dessert. Simple to make, incredibly delicious, and highly adaptable for different dietary needs, it’s a guaranteed crowd-pleaser. Try it today and experience the ease and satisfaction of baking something amazing in less than an hour! Share your pictures using #CherryDumpCakePerfection and tag us!
FAQs
- Can I use frozen cherries? Yes, but make sure to thaw them completely and drain any excess liquid before adding them to the cake.
- Can I make this cake ahead of time? Yes, you can assemble the cake ahead of time and bake it when ready. Store the assembled cake in the refrigerator before baking.
- Can I use a different type of pie filling? Absolutely! Get creative; apple, blueberry, or even peach pie fillings could work well!
Remember to always prioritize safety and follow standard kitchen hygiene practices. Enjoy baking!