
Bread Flour 101: How to Bake Perfect Homemade Bread Every Time
Table of Contents
Introduction: Can You Really Bake Bakery-Quality Bread at Home?
Have you ever wondered why your homemade bread doesn’t quite match the fluffy, chewy loaves from your favorite bakery? The secret might be simpler than you think—it’s all about using the right flour. Enter bread flour , the unsung hero of perfect homemade bread! Whether you’re a beginner or an experienced baker, this guide will walk you through everything you need to know to bake delicious, bakery-worthy bread every single time. Ready to unlock the magic of bread flour? Let’s get started.
Overview: Why This Recipe Stands Out
This recipe is designed for anyone who loves the smell of fresh-baked bread but doesn’t want to spend hours in the kitchen. It takes about 3-4 hours from start to finish (including resting and baking), making it perfect for a weekend project or even a weekday evening if you plan ahead. The difficulty level is beginner-friendly—no fancy equipment required! All you need is some patience, basic kitchen tools, and, of course, high-quality bread flour. By the end of this guide, you’ll have soft, airy loaves that rival any professional bakery.
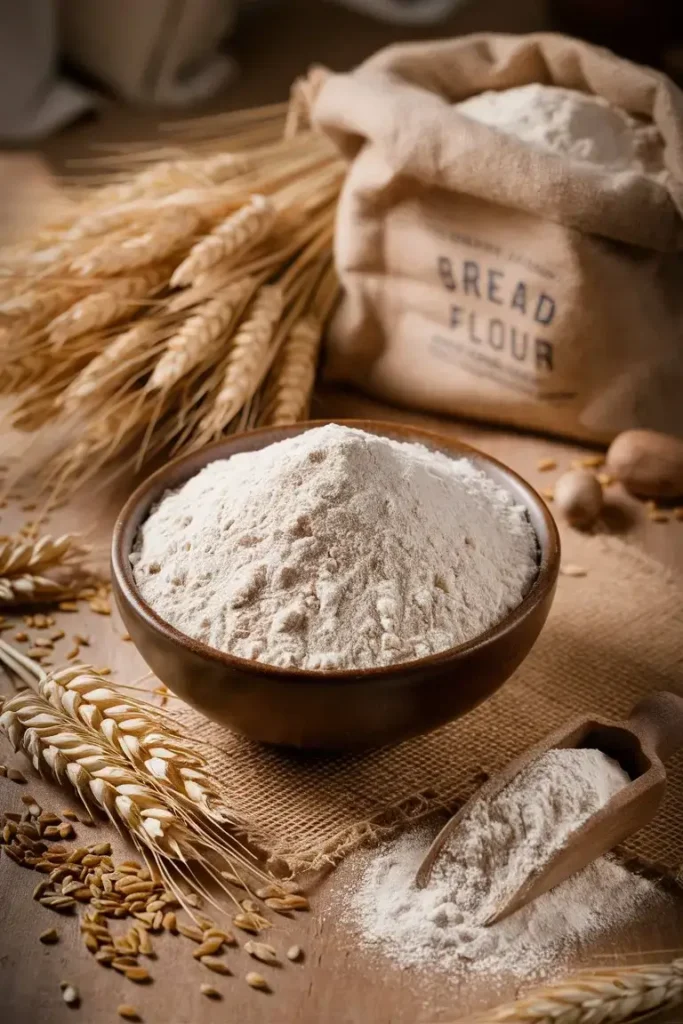
Essential Ingredients: What Makes Bread Flour Special?
Before we dive into the steps, let’s talk about the star of the show: bread flour . Unlike all-purpose flour, bread flour has a higher protein content (around 12-14%), which helps create more gluten. Gluten gives bread its structure, elasticity, and chewiness, so using bread flour ensures your loaf rises beautifully and has that satisfying texture. Here are the key ingredients you’ll need:
- Bread Flour : The backbone of your dough. Look for “strong” or “bread” flour at the store.
- Water : Helps hydrate the flour and activate the yeast.
- Yeast : The leavening agent that makes your dough rise.
- Salt : Enhances flavor and controls yeast activity.
- Optional Add-ins : Olive oil for softness, honey for sweetness, or herbs for extra flavor.
Substitutions and Variations :
- If you can’t find bread flour, you can mix all-purpose flour with vital wheat gluten (about 1 tablespoon per cup of flour).
- Swap water for milk for a richer, softer loaf.
- Experiment with whole wheat bread flour for added nutrition and nutty flavor.
Step-by-Step Instructions: From Mixing to Baking
Now comes the fun part—actually making the bread! Follow these simple steps to achieve perfection.
Step 1: Gather Your Tools
You don’t need anything fancy. A mixing bowl, measuring cups, a wooden spoon or stand mixer, and a baking sheet or loaf pan will do. Optional tools include a bench scraper for shaping and a proofing basket for round loaves.
Step 2: Mix Your Ingredients
Combine your dry ingredients (bread flour, salt, and yeast) in a large bowl. Slowly add warm water (about 110°F/43°C) while stirring until a shaggy dough forms. If adding olive oil or honey, mix them in now.
Pro Tip: Use the autolyse method by letting the flour and water rest for 20-30 minutes before adding salt and yeast. This improves gluten development and texture.
Step 3: Knead the Dough
Kneading develops gluten, giving your bread strength and elasticity. You can knead by hand for 8-10 minutes or use a stand mixer with a dough hook for 5-7 minutes. The dough should feel smooth and elastic when done.
Step 4: First Rise (Proofing)
Put the dough into a bowl that’s been lightly coated with oil, then cover it with a damp towel and allow it to rise in a warm area for 1-2 hours. It should double in size. For faster proofing, try creating a warm environment in your oven or microwave.
Step 5: Shape the Dough
Once risen, punch down the dough to release air bubbles. Shape it into a loaf, boule, or batard depending on your preference. Dust your work surface lightly with flour to prevent sticking.
Step 6: Second Rise
Let the shaped dough rest again for 30-60 minutes. During this time, preheat your oven to 425°F (220°C). Use a baking stone or tray lined with parchment paper for best results.
Step 7: Bake
Slash the top of your loaf with a sharp knife or razor blade to allow for expansion during baking. Bake for 25-30 minutes until golden brown and hollow-sounding when tapped. Cool completely before slicing.
Assembly: Combining Ingredients Like a Pro
The key to great bread lies in how you handle the dough. Be gentle when shaping to avoid deflating it. For presentation, sprinkle flour on top before slashing for a rustic look. Or brush the baked loaf with melted butter for a glossy finish.
Storage and Make-Ahead Tips
Fresh bread tastes amazing, but proper storage keeps it fresh longer. Store cooled bread in a paper bag or bread box for up to 2 days. For longer storage, freeze slices in a zip-top bag for up to 3 months. Reheat frozen slices in the toaster or oven for best results.
If you’re short on time, prepare the dough the night before and refrigerate it overnight. Simply shape and bake the next day for fresh bread without the morning rush.
Recipe Variations: Get Creative!
Don’t stop at plain bread—try these fun twists:
- Herb Bread : Add rosemary, thyme, or garlic powder to the dough.
- Cheese Bread : Fold shredded cheese into the dough before shaping.
- Sweet Bread : Mix in cinnamon, raisins, or chocolate chips for a dessert-like treat.
- Sourdough Starter : Replace commercial yeast with a sourdough starter for tangy flavor.
Conclusion: Your Bread-Baking Adventure Awaits
Congratulations—you’ve just unlocked the secrets to baking perfect homemade bread with bread flour! With a little practice, you’ll be turning out loaves that impress family and friends. Remember, baking is as much about creativity as it is about technique. So grab your apron, experiment with flavors, and enjoy the process. Happy baking!
FAQs: Everything You Need to Know About Bread Flour
- Can I use all-purpose flour instead of bread flour? Yes, but bread flour produces better texture due to its higher protein content. For best results, add vital wheat gluten to all-purpose flour.
- How long does homemade bread last? Properly stored, it lasts 2-3 days at room temperature or up to 3 months in the freezer.
- What if my dough doesn’t rise? Check your yeast expiration date and ensure your water isn’t too hot, which can kill the yeast.
- Is bread flour healthier than other flours? Nutritionally similar to all-purpose flour, bread flour shines in texture and performance rather than health benefits.
- Can I speed up proofing? Yes! Place your dough in a slightly warmed oven or microwave to mimic a proofing drawer