
Ninja Creami Vanilla Ice Cream Recipe: 7 Tips For Perfect Dessert
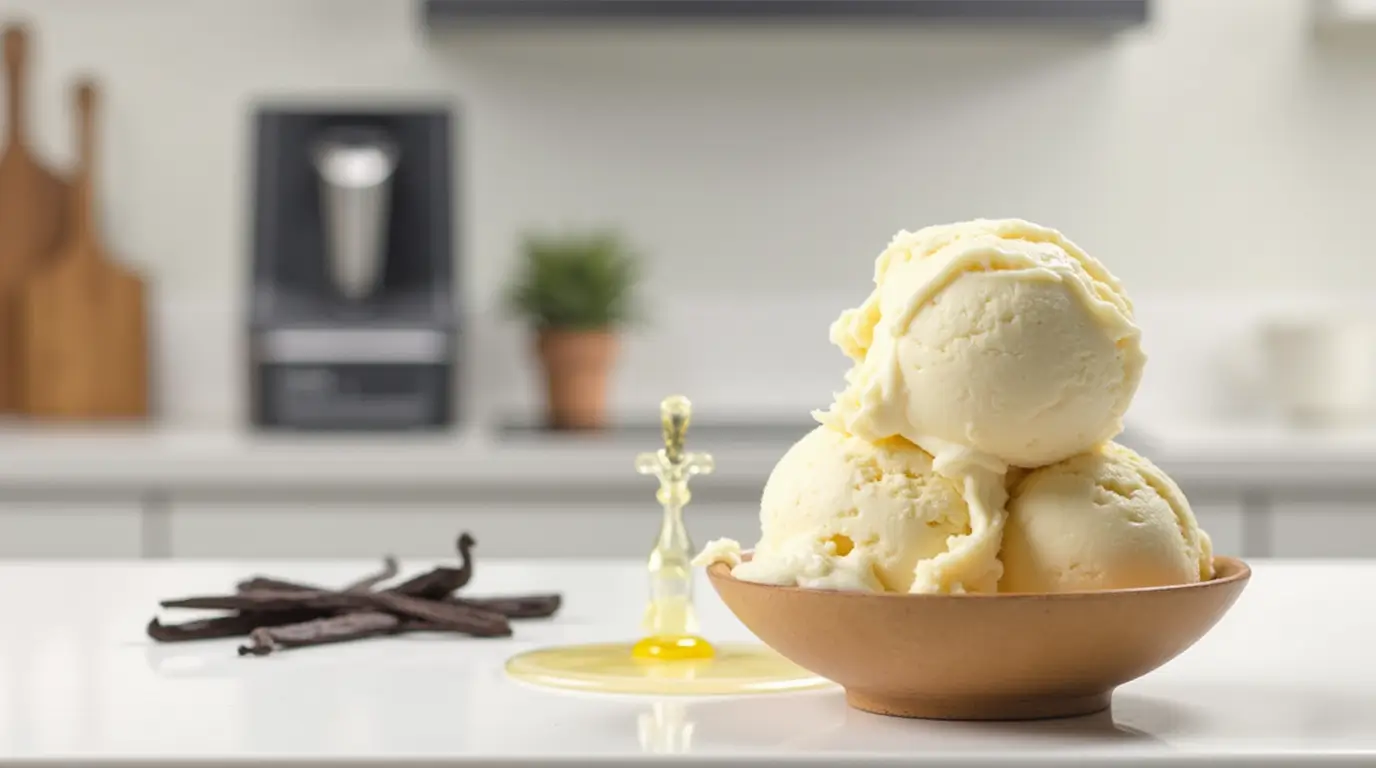
Table of Contents
ninja creami vanilla ice cream recipe
Have you ever wondered how professional ice cream makers create such creamy, irresistible desserts? What if I told you that achieving restaurant-quality vanilla ice cream at home is not only possible but also surprisingly easy with the right techniques? Today, we’re diving into the world of homemade ice cream with a focus on one particular gem: the ninja creami vanilla ice cream recipe . Let’s explore how to craft this sweet treat like a pro!
Overview
What makes this ninja creami vanilla ice cream recipe so special? It’s quick, simple, and results in an incredibly smooth and rich dessert that rivals any store-bought option. This recipe requires just about 5 minutes of prep time and another 2 minutes for processing in your machine. Plus, it’s beginner-friendly, meaning even those new to cooking can master it effortlessly.
The difficulty level? Beginner-friendly! You don’t need advanced culinary skills or expensive equipment—just a few basic ingredients and a little patience. Now let’s get started by looking at what goes into making this delightful dessert.
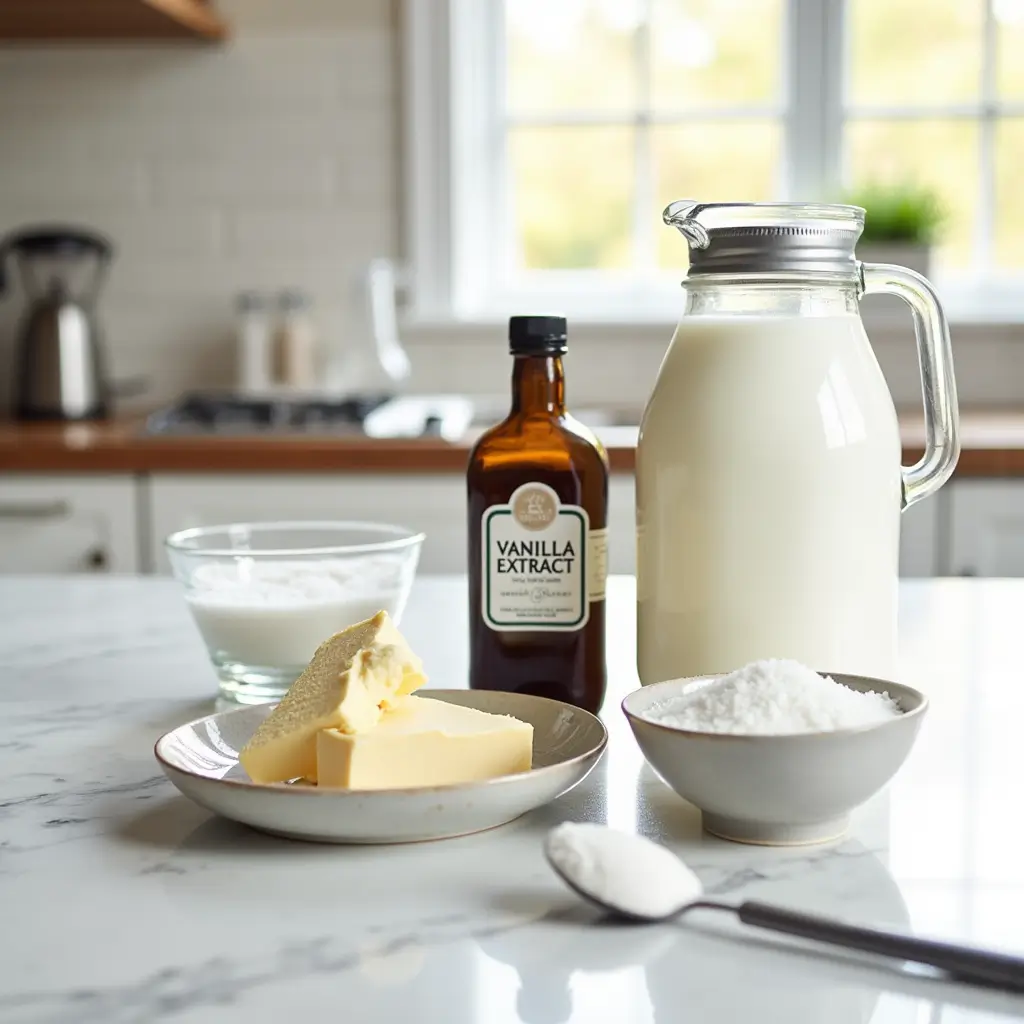
Essential Ingredients
Here’s everything you’ll need to whip up this delicious creation:
- Cream Cheese : Acts as a stabilizer, giving your ice cream its signature creamy texture. Use full-fat cream cheese for best results.
- Sugar : Sweetens the mix; you can substitute with monk fruit or another sugar alternative if preferred.
- Vanilla Extract : Adds depth and aroma to the ice cream. Choose pure vanilla extract over imitation for superior flavor.
- Whole Milk : Provides body and helps blend flavors together. Whole milk ensures richness without being too heavy.
- Heavy Cream : Critical for achieving that luxurious mouthfeel. Opt for heavy whipping cream with around 35% fat content.
- Salt : A pinch enhances sweetness and balances out other flavors.
Substitutions & Variations
Feel free to tweak these ingredients based on dietary preferences:
- Swap granulated sugar for powdered sugar for smoother consistency.
- Experiment with different types of milk (almond, oat) for lactose-free options.
- Add cocoa powder or chocolate chips for a twist.
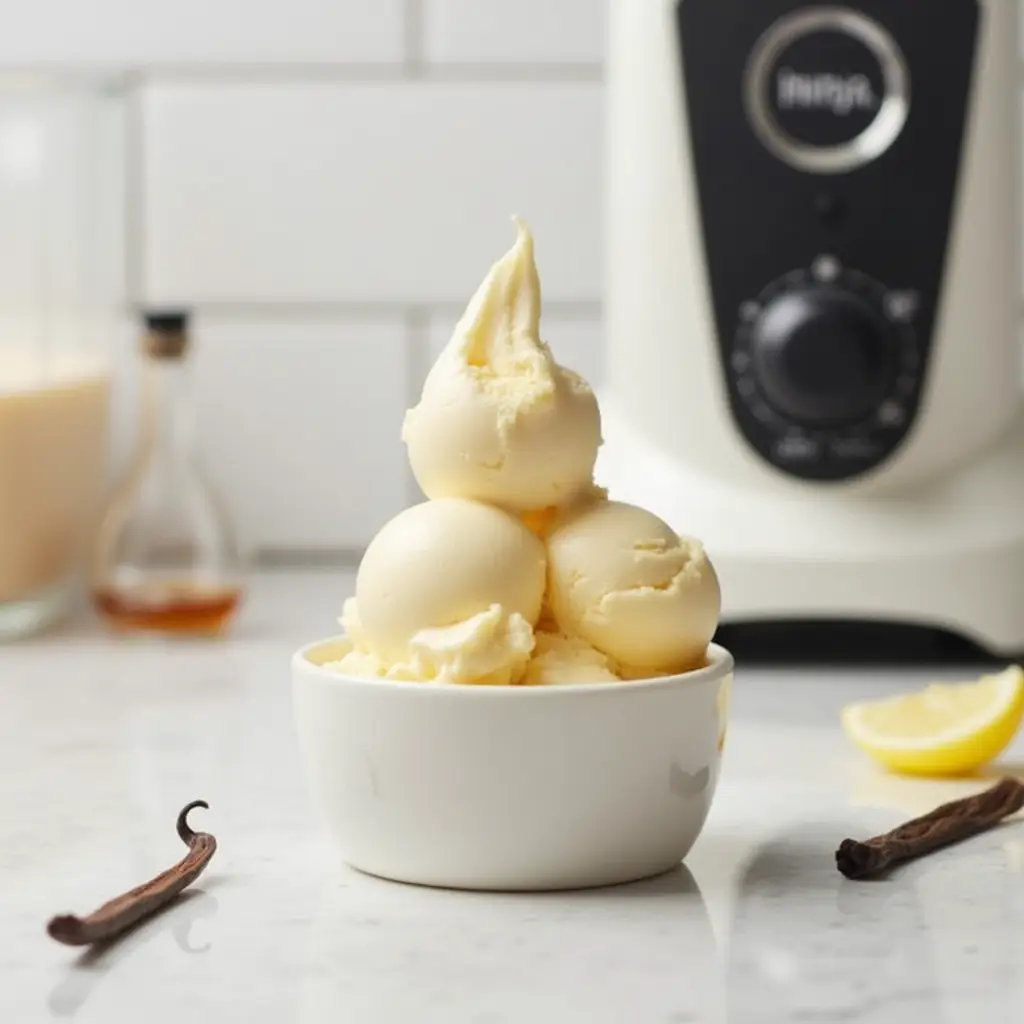
Step-by-Step Instructions
Now comes the fun part – preparing your ninja creami vanilla ice cream!
- Prepare Your Base
- Begin by softening your cream cheese either by letting it sit at room temperature or microwaving briefly until pliable.
- In a microwave-safe bowl, combine softened cream cheese, sugar, and vanilla extract. Stir until fully incorporated and no lumps remain.
- Blend Liquids
- Gradually stir in the heavy cream followed by whole milk. Mix thoroughly until all elements are well combined and there are no streaks visible.
- Chill The Mixture
- Pour the mixture into a container and refrigerate for at least two hours—or overnight—for optimal flavor development.
- Process In Machine
- Once chilled, transfer the cold mixture to your ice cream maker according to manufacturer instructions. Typically, this step takes approximately 20–30 minutes depending on your device.
- Freeze Until Firm
- After churning, place the semi-frozen ice cream in an airtight container and freeze for several more hours until firm enough to scoop.
Assembly
Once your ice cream has reached its desired consistency, consider garnishing it creatively before serving. Sprinkle chopped nuts, drizzle caramel sauce, or fold in fresh fruit chunks for added flair. Remember, presentation matters when sharing homemade treats with friends and family!
For a truly impressive display, try layering scoops between waffle cones or serving them alongside warm brownies. These small touches elevate your dessert from ordinary to extraordinary.
Storage And Make-Ahead Tips
Proper storage keeps your ninja creami vanilla ice cream tasting fresh long after preparation day. Here are some helpful hints:
- Store tightly sealed in freezer-safe containers to prevent freezer burn.
- Reheat briefly if needed when removing from the freezer for easier scooping.
- Prepare ahead by freezing portions individually wrapped in plastic wrap then placed inside larger bags for convenience later.
Recipe Variations
Don’t stop at plain vanilla! Customize your ninja creami vanilla ice cream recipe with exciting variations:
- Chocolate Swirl : Incorporate melted chocolate during the final stages of mixing.
- Fruit Infusion : Blend berries or peaches directly into the base prior to chilling.
- Nutty Delight : Fold crushed almonds or peanuts into the finished product for extra crunch.
Conclusion
Creating homemade ice cream doesn’t have to be complicated. With our ninja creami vanilla ice cream recipe, you’re just steps away from enjoying creamy, dreamy goodness straight from your kitchen. So go ahead, experiment with flavors, and delight both yourself and loved ones with this versatile dessert. Happy baking—and bon appétit!
FAQs
Q: How long does it take to prepare this recipe? A: Prep time is roughly five minutes plus chilling time which varies but generally lasts several hours.
Q: Are there any health benefits associated with eating homemade ice cream? A: While still considered indulgent, homemade versions allow control over ingredient quality and quantity reducing potential additives found commercially.
Q: Can I make this recipe in advance? A: Absolutely! Simply follow storage guidelines provided earlier ensuring maximum freshness upon consumption.
There you have it—a comprehensive guide to crafting perfect ninja creami vanilla ice cream every single time. Enjoy experimenting with this classic yet customizable dessert!
ninja creami vanilla ice cream recipe
- Best Pistachio Cream Recipe: 7 Easy Variations You Need to Try
- 10 Kitchenaid Ice Cream Recipe Hacks You’ll Love